Product Photography Blog
Taking Product Photos for Your Online Store: Step by Step
Do you want to take professional product photos for your online store yourself? Here’s how to do it and what mistakes you should avoid.
You could be selling the best product in the world, but if the photo isn’t right, a visitor will click away. In an online store, customers can’t hold your product in their hands. The photo has to do that for them.
Good news: you don’t need an expensive photographer or an outside studio. With the right approach, you can take professional product photos yourself—even with your phone. In this blog post, you’ll learn what you need and how to do it step by step.
Why Good Product Photos Make Such a Difference
A customer evaluates your product in a matter of seconds, and they do so primarily based on the photo. Good photos ensure:
Trust: A sharp, high-quality photo shows that your online store is professional.
Fewer returns: When the color, shape, and details are accurate, the product arrives as expected.
More sales: Online stores that improve their photos often see that reflected in their conversion rates.
What do you need to take good product photos?
A good product photo consists of four elements:
Lighting: even, without harsh shadows.
Background: plain, usually white or neutral.
Camera: an SLR, mirrorless camera, or even a recent smartphone.
Consistent setup: so that all your photos look the same.
Light is by far the most important factor.
Step by step: How to take a good product photo
Step 1: Make sure the lighting is even.
Light from one side creates shadows on the other side. This results in color variations and photos that look different from day to day. The goal is to have light coming from all sides so that the product is evenly lit.
There are a few ways to do that:
Use a photo studio or lightbox with built-in lighting so you don’t have to adjust the lighting every time.
The MagicBOX provides even, diffused light from five sides.
Step 2: Choose a quiet background
For online stores and marketplaces, a white or neutral background is the standard. It makes the product stand out, and your photos look consistent throughout the store.
For mood photos (such as a candle on a table), you can create a mood photo in AI after taking the base photo.
Step 3: Set up your camera or phone properly
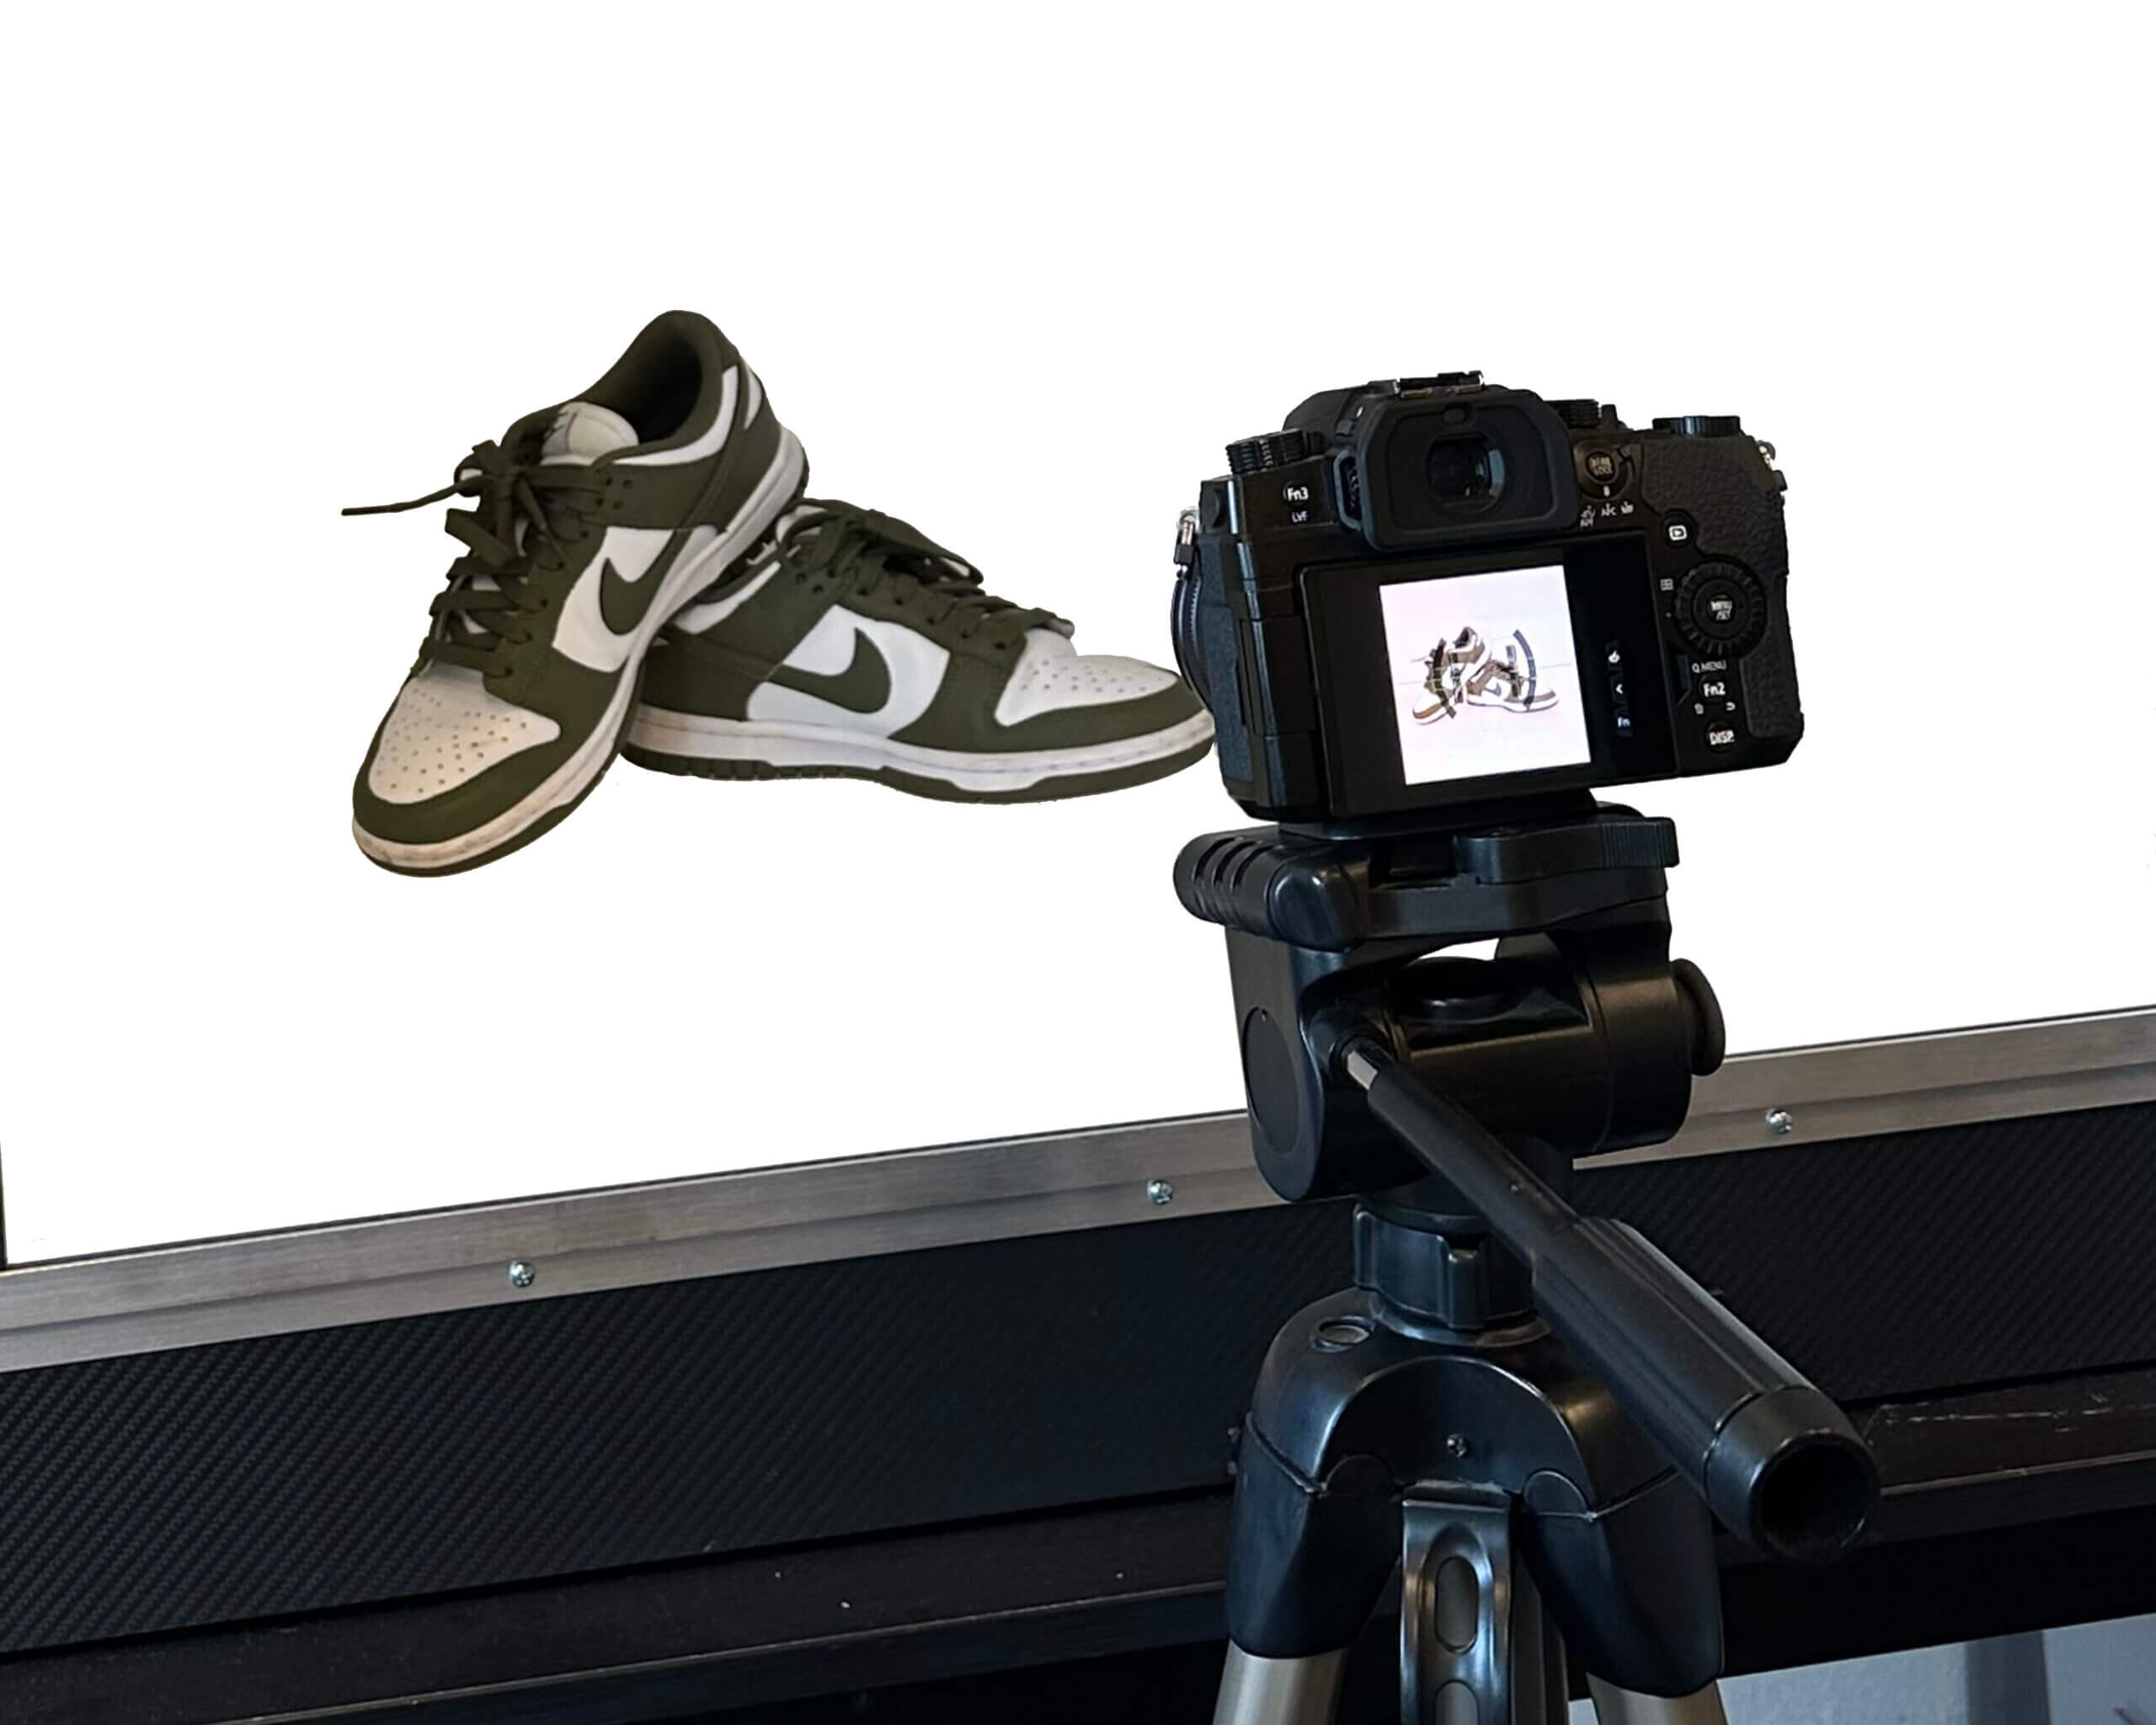
Phone: Clean the lens, turn on the grid, and hold the device straight and steady. Use a tripod or a stable mount.
Color: Set the white balance so that your colors don’t change from photo to photo.
Distance: Don’t get too close to the product. Getting too close distorts the shape.
Step 4: Take photos from multiple angles.
One photo is rarely enough. This set works well for most products:
Front (main photo)
Side and back
Detail (material, finish, label)
The product in use or in a real-life setting
Optionally, a 360° view or short video
Step 5: Lightly edit and reduce the size of your files
If your lighting and background are right, you won’t need much post-processing. Usually, this is enough:
Trim the image slightly to create a fixed crop (for example, a square).
Slightly adjust the brightness and contrast.
Reduce the file size (for example, to WebP or JPG) so your online store loads quickly.
Be sure to give your files clear names, such as blue-ceramic-vase-20cm.jpg, and always include alt text. This helps with Google and improves accessibility.
7 Common Mistakes in Product Photos
Harsh shadows caused by a single light source.
Inconsistent colors due to changes in white balance or daylight.
Inconsistent backgrounds and cropping within the same online store.
Distracting reflections on glass, metal, or shiny packaging.
Products that are too small in the frame: make sure the product fills the photo.
Large files that slow down your page.
| Hire a photographer | On my own, without a studio | In-house product photography studio | |
| Quality | High | Variable | High and steady |
| Speed | Depending on the schedule | A lot of configuration work | Quick, fixed setup |
| Costs | One photo at a time—keep coming back | Low, but time-consuming | One-time investment |
| Flexibility | Limited | High | High |
Do you have a lot of products, a changing product line, or regular new collections? In that case, having your own photo studio is often the best option. You pay once, don’t have to plan anything, and your photos will look the same every season.
Here’s how the MagicBOX helps
The MagicBOX is a product photography studio that lets you quickly and easily take professional product photos and videos yourself, using your camera or even just your phone. The lighting comes from all directions, so you get even photos without shadows and with minimal post-processing. This saves customers like Conval and Verpakking & Zo a lot of time when photographing their products. You can also use it to create 360° product videos.
Want to know if it’s a good fit for your products? You can request a free demo using your own products, either in Almere or online via Zoom, FaceTime, or WhatsApp.
Book a free product photography demo at the MagicBOX → YES, I’D LIKE TO BOOK A DEMO
Frequently Asked Questions
What is the best background for an online store?
Usually white or neutral. That’s calming, works on most marketplaces, and shows your product in the best light.
Can I take product photos with my phone?
Yes. A modern smartphone is more than good enough, as long as the lighting and background are right and your phone isn’t moving.
How many photos do I need for each product?
At least 3 to 5: front, side, or back view; a close-up; and a photo showing the product in use. For complex products, there may be more, plus possibly a video.
How can I prevent reflections on shiny products?
By using soft, diffused light from multiple directions instead of a direct light source.