
Product photography of eyewear, in-house
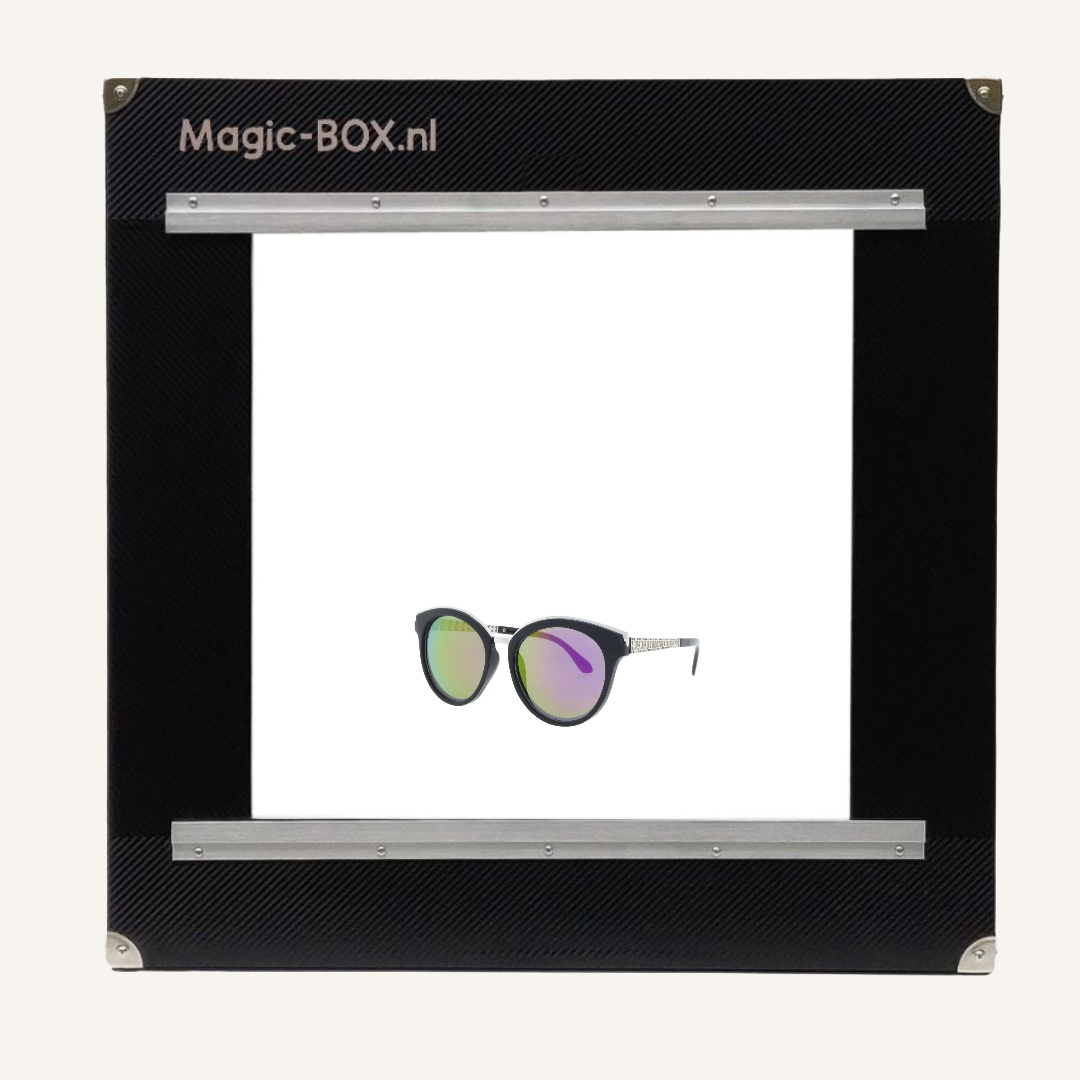
Product photography of glasses works best with a fixed light box with light from all sides. The door with a hole for the lens stops the lamps, you and your camera from being reflected in the lenses. That way you take the same series of every pair: front, side and back. With a 360° model you can make a video of it too.
Demo with your own glasses Read the guide
By Birgitta, MagicBOX · Updated 29 October 2026 · 6 min read
In short
- The biggest problem with glasses is reflection: glass is transparent and mirrors everything around it.
- The second problem: the arms have to be clearly in the shot, alongside a good overview photo of the whole frame.
- A fixed studio gives every pair the same lighting, so your whole collection looks consistent.
- The MagicBOX Square suits glasses best. If you also want to make videos, the MagicBOX Square 360° is the best choice.
- Outsourcing a photo costs €15–€20 on average. With 4 photos per pair, that is €60–€80 per product.
Why are glasses so difficult to photograph?
Because glasses are transparent and shiny, and because everything becomes visible in the glass: every lamp, every window pane and you.
Lenses act like a mirror. Put a lamp next to the glasses and you will see that lamp in the lens. A shiny metal frame adds sharp hotspots. The arms are tricky too: if they are half closed or crooked, the shape is no longer right, while that is exactly the shape a buyer wants to judge.
On top of that, a webshop needs the same photos for hundreds of frames. Hiring a photographer for every new collection costs time and money, and photographing them yourself on a table by the window gives a different photo for every pair.
- ReflectionThe glass reflects lamps, your surroundings and your camera. That is the biggest problem with glasses.
- Arms in the shotYou want to show the shape and fit, so the arms need to be clearly visible too.
- Overview photoYour visitor wants to see the whole frame at a glance, and the same way for every pair.
How do you take product photos of glasses, step by step?
Place the glasses in a fixed position, close the door and take the same series of photos of every pair.
- Clean the glassesFingerprints and dust show up on the photo straight away.
- Place the glasses in the MagicBOXOpen the arms and place the glasses in a fixed position, so every pair appears in the frame the same way.
- Close the door with the holeYou photograph through the hole. That way the lamps, you and your camera are not reflected in the lenses.
- Take the fixed seriesYou usually photograph glasses from the front, the side and the back. The front is your overview photo.
- Or make a videoWith a 360° model the glasses turn round. You film directly, or you take a series of photos, edit them in one batch and then turn them into a video. Recording a video takes 1 minute, and editing is very simple. When you buy a MagicBOX you receive tips & tricks, and we are always available if you need help.
Which background and lighting work best for glasses?
Diffuse light from all sides and a calm, plain background.
The MagicBOX lights the glasses from all sides. That means no harsh shadows, and thin parts of the frame come out clearly. The background stays plain, so your photos are ready to use in your webshop straight away, with little to no post-processing. MagicBOX does not remove backgrounds or edit photos; the advantage lies in the even light you start with. That way you get a product photo of glasses on a white background.
Camera or smartphone: which suits glasses?
Both work: a smartphone is fine for a few pairs, while a camera on a tripod is better suited to a whole collection.
With a camera, you set up the settings for the MagicBOX once and then get the same photo for every pair. After purchase, you receive tips and tricks for the settings on your camera or smartphone in combination with the MagicBOX; you can also find them on the page Tips & tricks for using the MagicBOX.
Tricky cases
Reflection on the lenses
This is the biggest problem with glasses. The door with a hole for the lens solves it: you photograph through the hole, and the lamps, you and your camera are no longer reflected in the lenses. (The smaller MagicBOX models come with a door as standard; for the larger models it can be ordered as an extra.)
Arms clearly in the shot
You can only judge a pair of glasses properly if you can see the arms too. So photograph the side and the back as well as the front. Keep the arms straight and symmetrical.
A good overview photo
Always take the front as a fixed photo. That way every pair looks the same in your overview.
Shiny metal and coated lenses
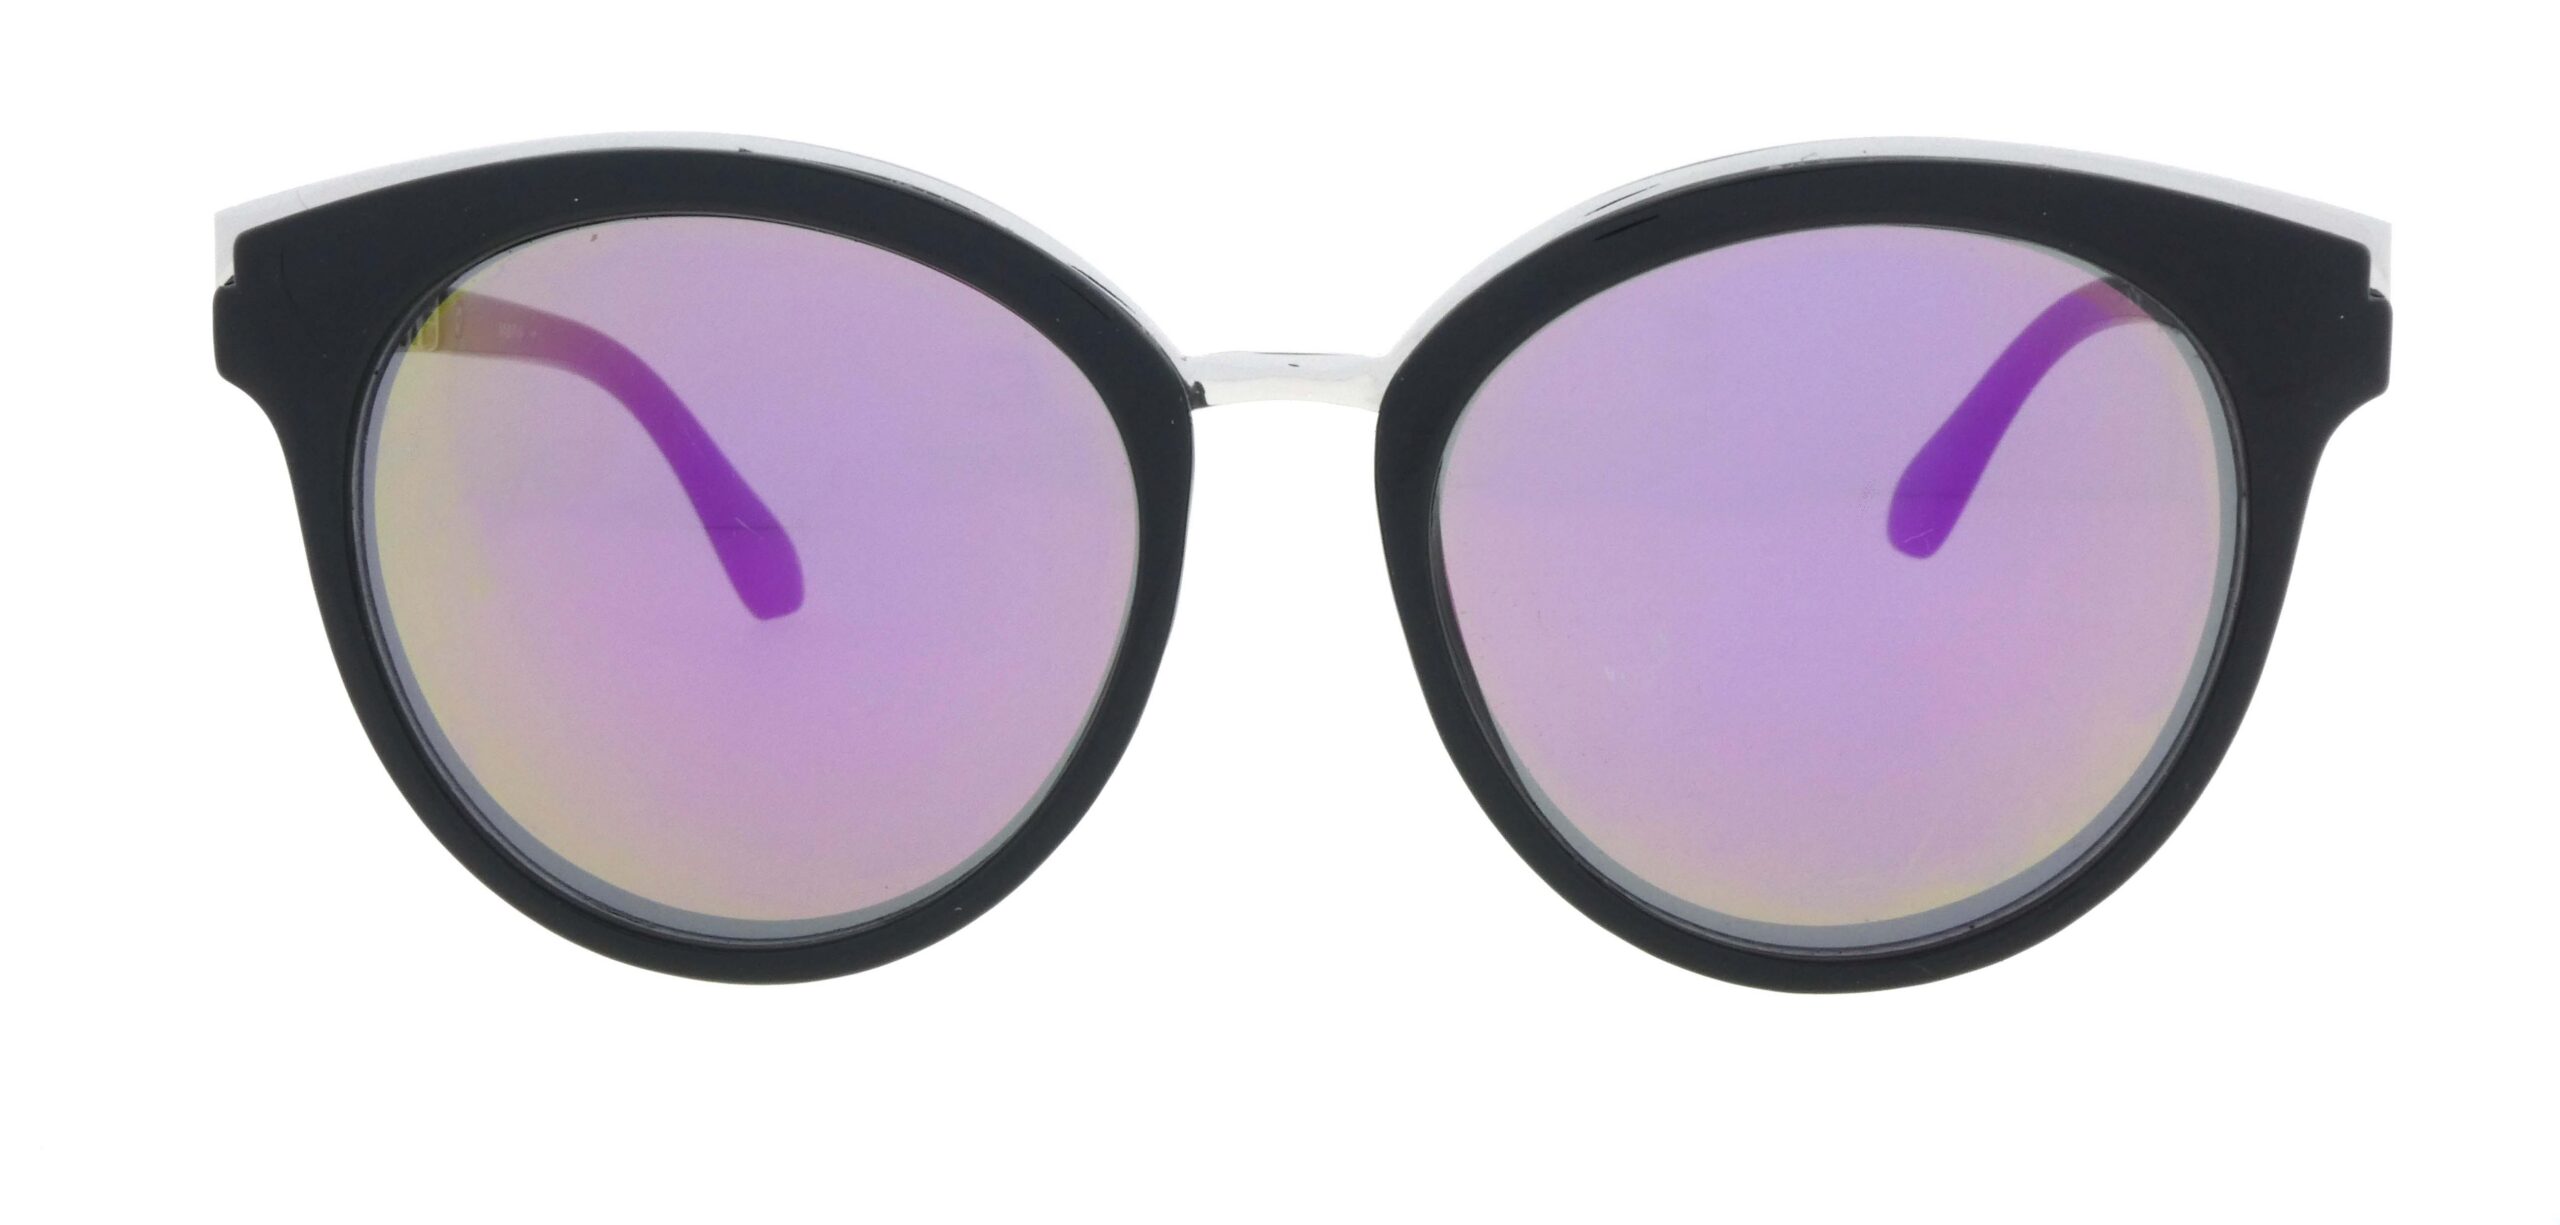
Metal frames shine, and coated lenses can give off a blue or purple glow. Even light from all sides calms that down.
How do you make a 360° video of glasses?
With the MagicBOX Square 360°: your glasses sit on a turntable and rotate through 360°.
The MagicBOX Square 360° has a built-in turntable; a separate turntable is available as an accessory. A 360° recording takes 1 minute.
That way customers see the shape of the frame from every side without trying the glasses on. You film directly, or you take a series of photos, edit them in one batch and then turn them into a video. Many webshops use video alongside the front, side and back photos.
You can find more examples on the page 360° product videos.
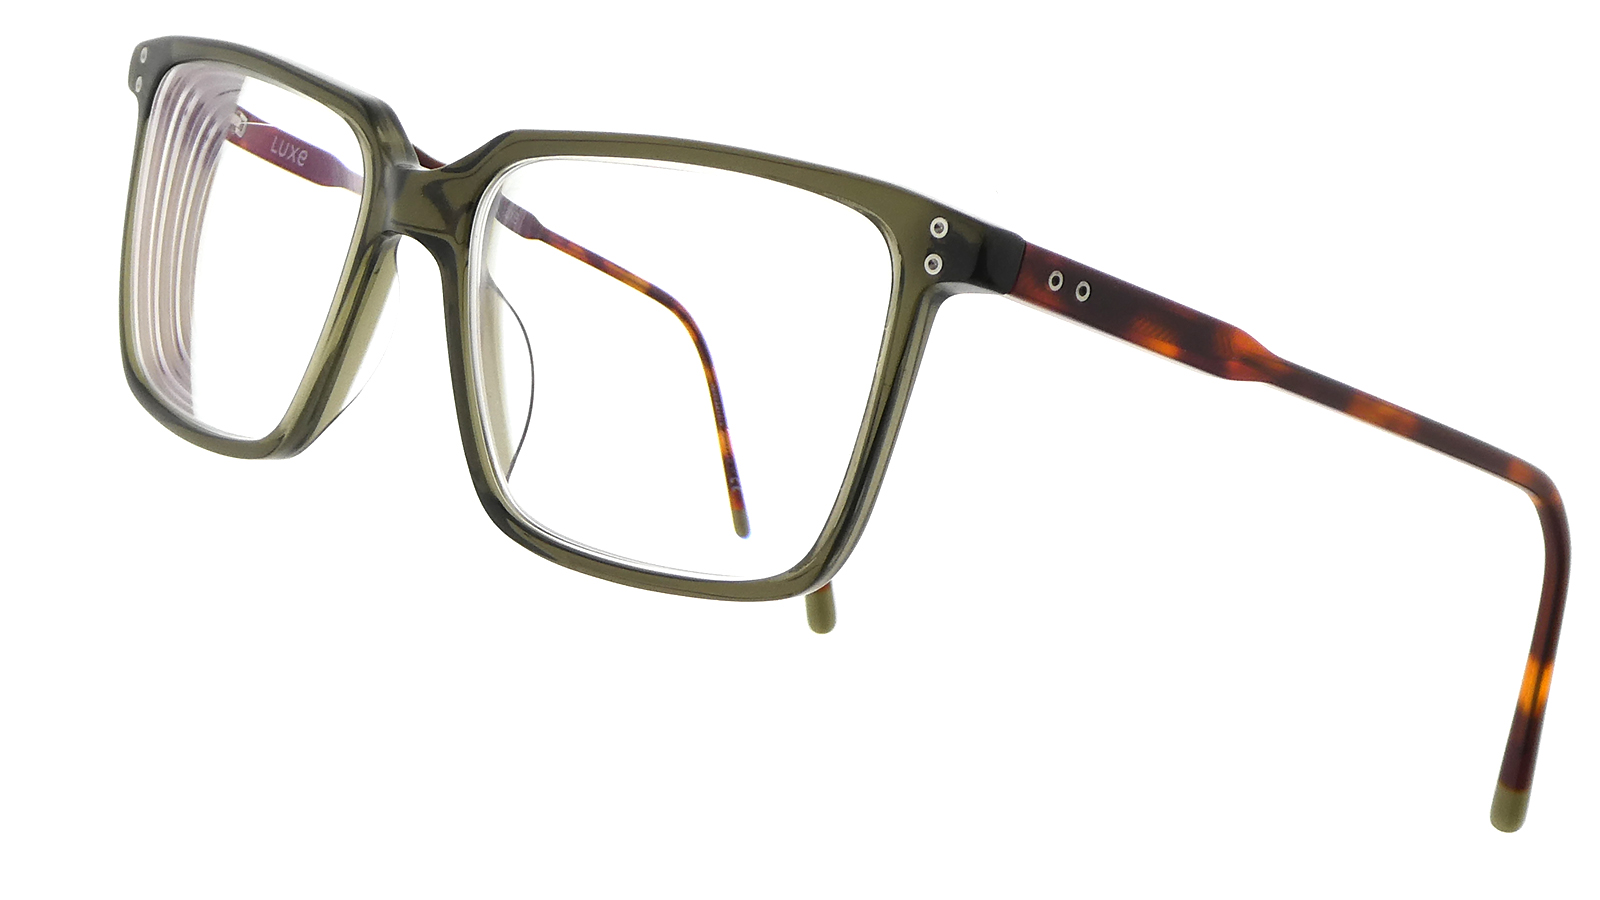
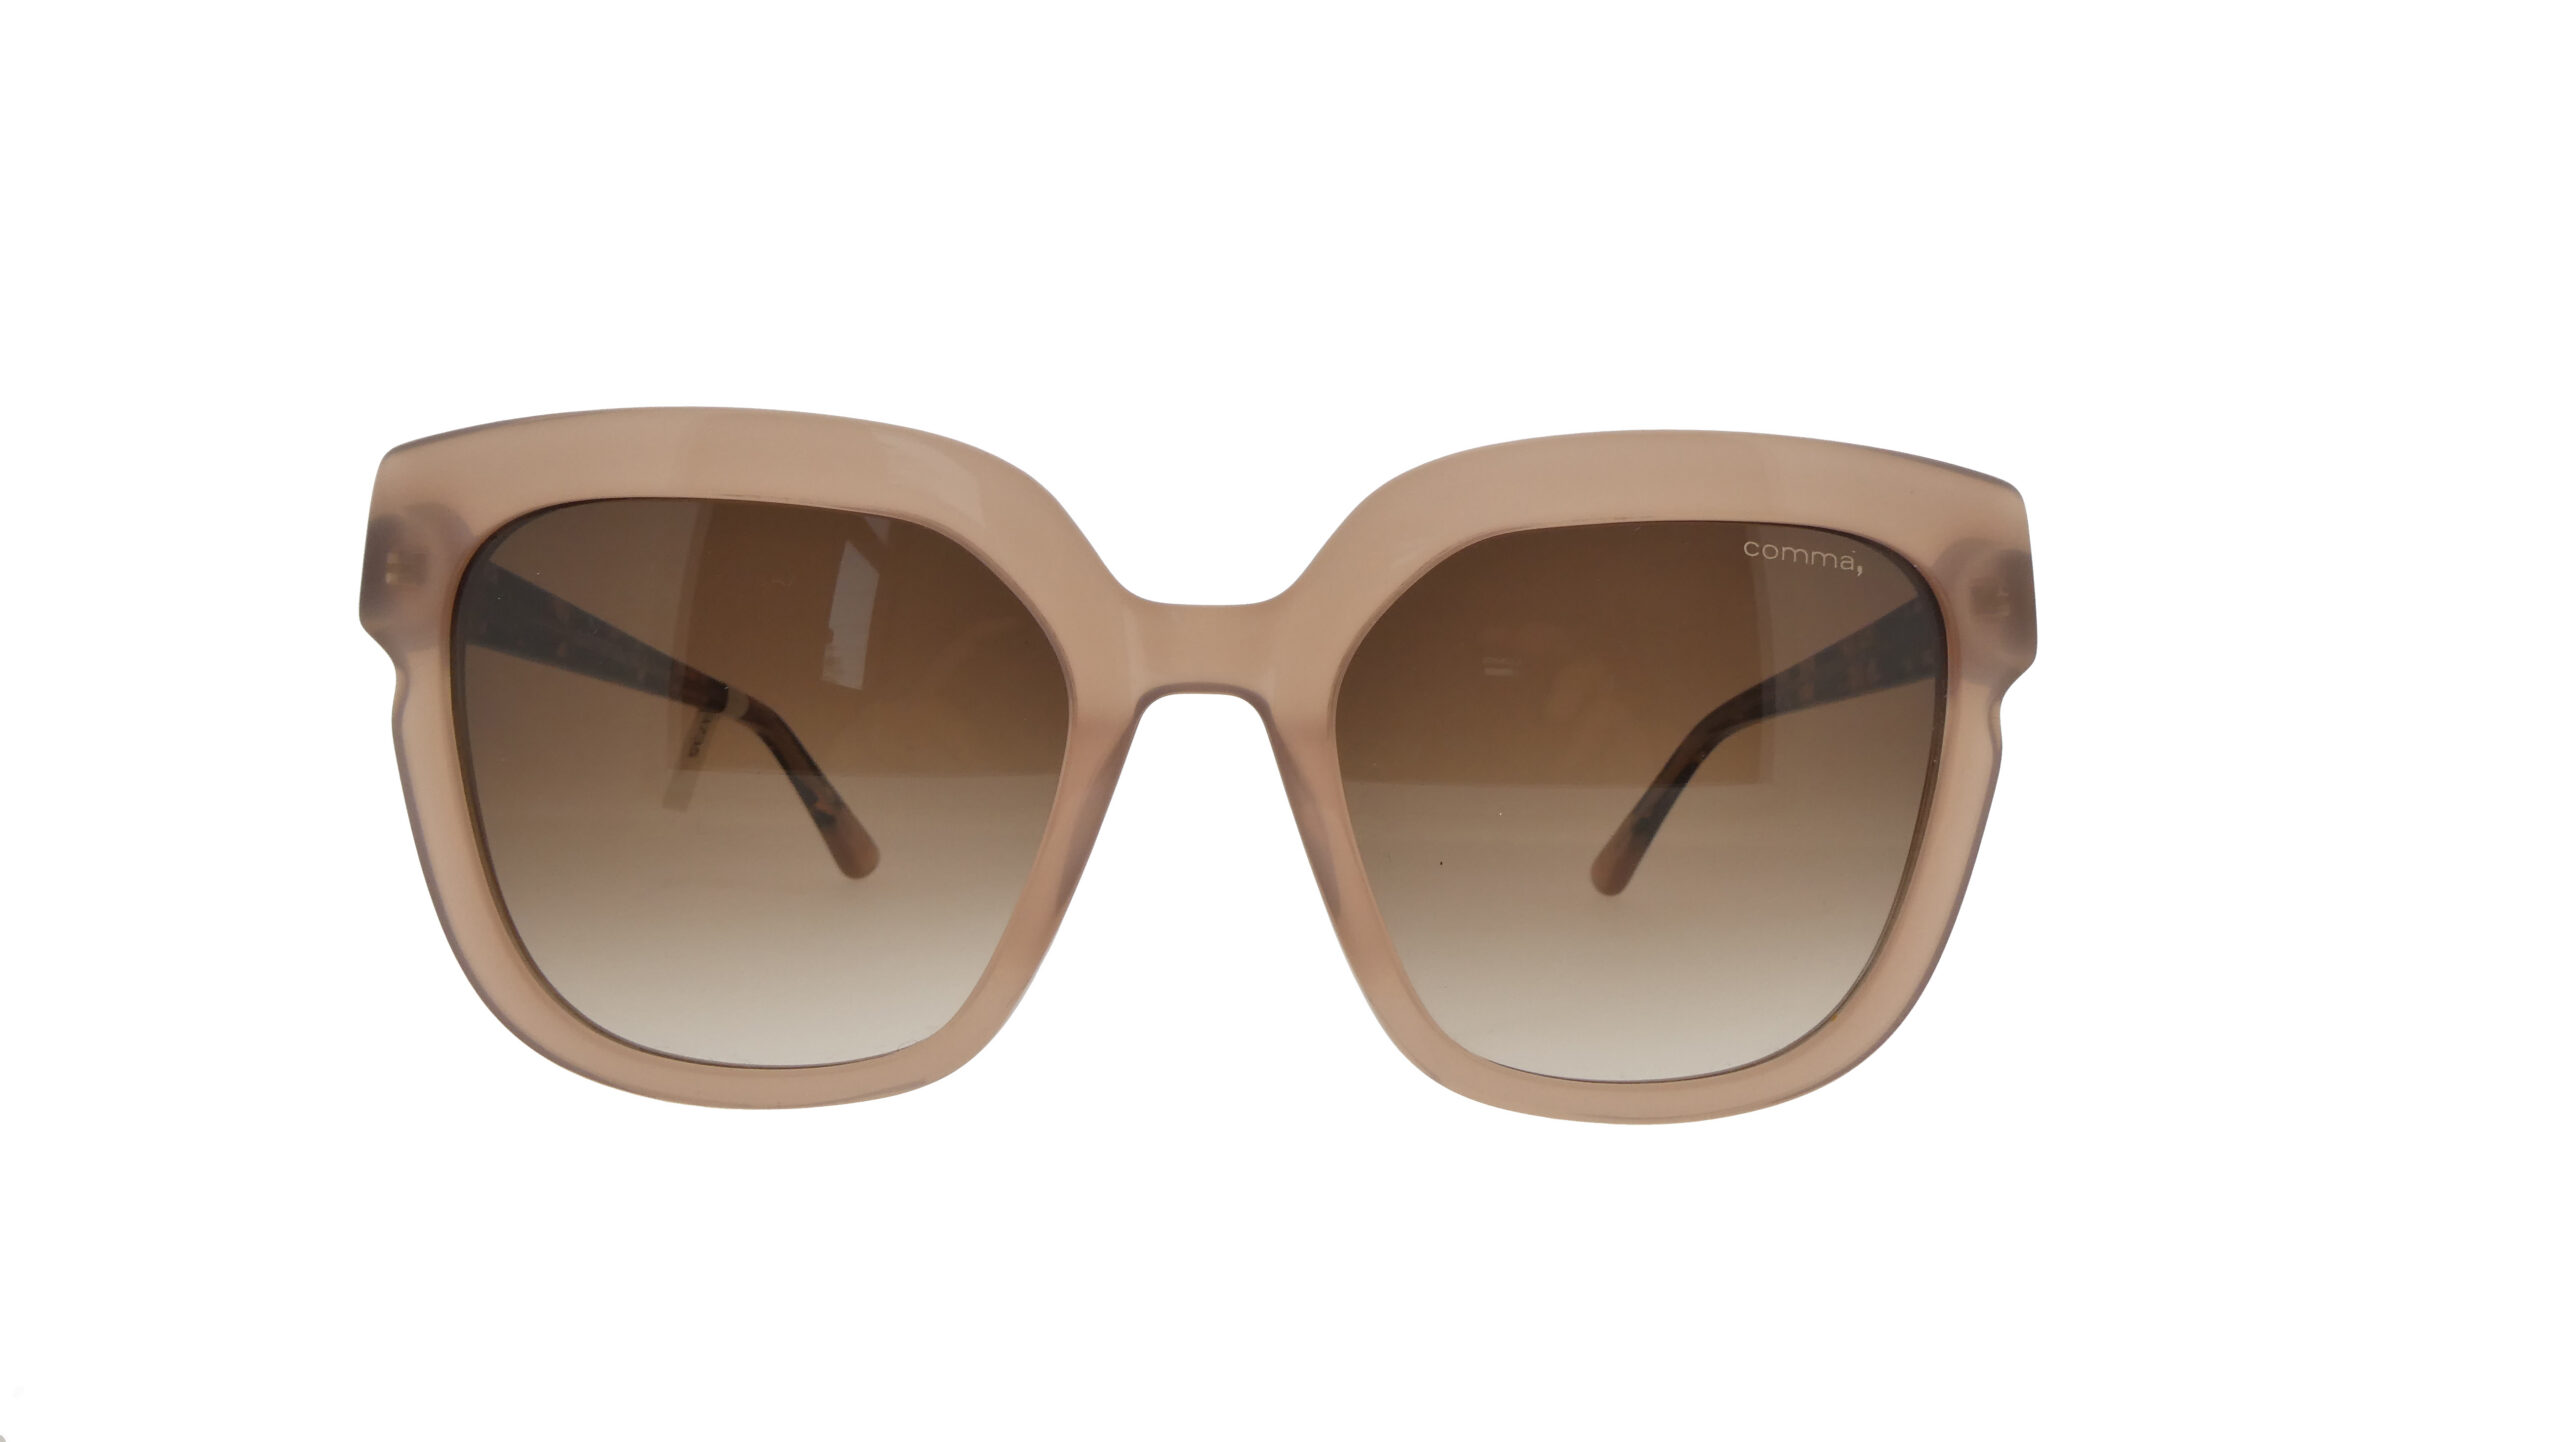
Examples from the MagicBOX
Bring your own glasses
We photograph them together in the showroom in Almere (the Netherlands), in English if you like. Prefer an online demo? That is possible too.
Which MagicBOX is the best photo studio for glasses?
The MagicBOX Square suits glasses best. You then move the glasses by hand. For video, and to turn the glasses automatically, the MagicBOX Square 360° is the best choice.
The inside and outside dimensions of every MagicBOX are listed in the product description, so you can check whether your products fit and how much space you need. Not sure? Bring your own glasses to the demo.
- Photos: front, side and back
 MagicBOX Square · €1,145
- Photos and videoMagicBOX Square 360° · €1,460


Photograph it yourself or outsource it?
If you only have a few frames a year, outsourcing is fine. If you change your collection regularly, photographing them yourself with a fixed set-up is usually quicker and cheaper.
Outsourcing a photo costs €15–€20 on average. With 4 photos per pair, that is €60–€80 per product, and a MagicBOX Square then pays for itself after roughly 15 products. You buy a MagicBOX once, and you use it again for every new collection. We have not included photos you send to a customer via WhatsApp or post on social media.
| Your own MagicBOX | External photographer | |
|---|---|---|
| Cost | One-off from €1,145 (MagicBOX Square) | €15–€20 per photo on average |
| Turnaround | Immediate, at your own location | Scheduling and waiting |
| Consistency | Every pair with the same lighting | Depends on the session |
What do other customers say?
The MagicBOX has a score of 5/5 from 45 reviews. Customers tell their own stories, including on Trustpilot.
Frequently asked questions
How do you avoid reflections on lenses?
Photograph through the hole in the door of the MagicBOX. That way the lamps, you and your camera are not reflected in the lenses. The light comes from all sides, so no harsh hotspots appear.
Which MagicBOX is the best photo studio for glasses?
The MagicBOX Square. If you also want to make videos, the MagicBOX Square 360° is the best choice. The inside and outside dimensions are listed in the product description.
How many photos do you take of a pair of glasses?
Usually from the front, the side and the back. Many webshops add a video as well.
Can I also show glasses as a video?
Yes, with the MagicBOX Square 360°. You film directly, or you take a series of photos, edit them in one go and then turn them into a video.
What does it cost to photograph glasses yourself?
A MagicBOX Square costs €1,145 and the 360° version €1,460. Outsourcing costs €15–€20 per photo on average; with 4 photos per pair, that is €60–€80. A MagicBOX Square then pays for itself after roughly 15 products.