Tips & Tricks on using MagicBOX

Product photography tips & tricks to make the most of your MagicBOX.

The following are some manual settings on your photo camera that can help you get the best possible end result.
It is also possible to take photos with your cell phone.
The information is a guide and the settings and features may vary from one camera/mobile phone to another.
Also, the settings depend on your personal preference and taste.

If you want advice before purchasing a camera contact us.

Photography in general:

Take the photo already in the format you need for your website. You don’t have to cut the photo out to the desired size afterwards, which saves time. Frame the product as large as possible to get the best result in terms of color and light in the photo.

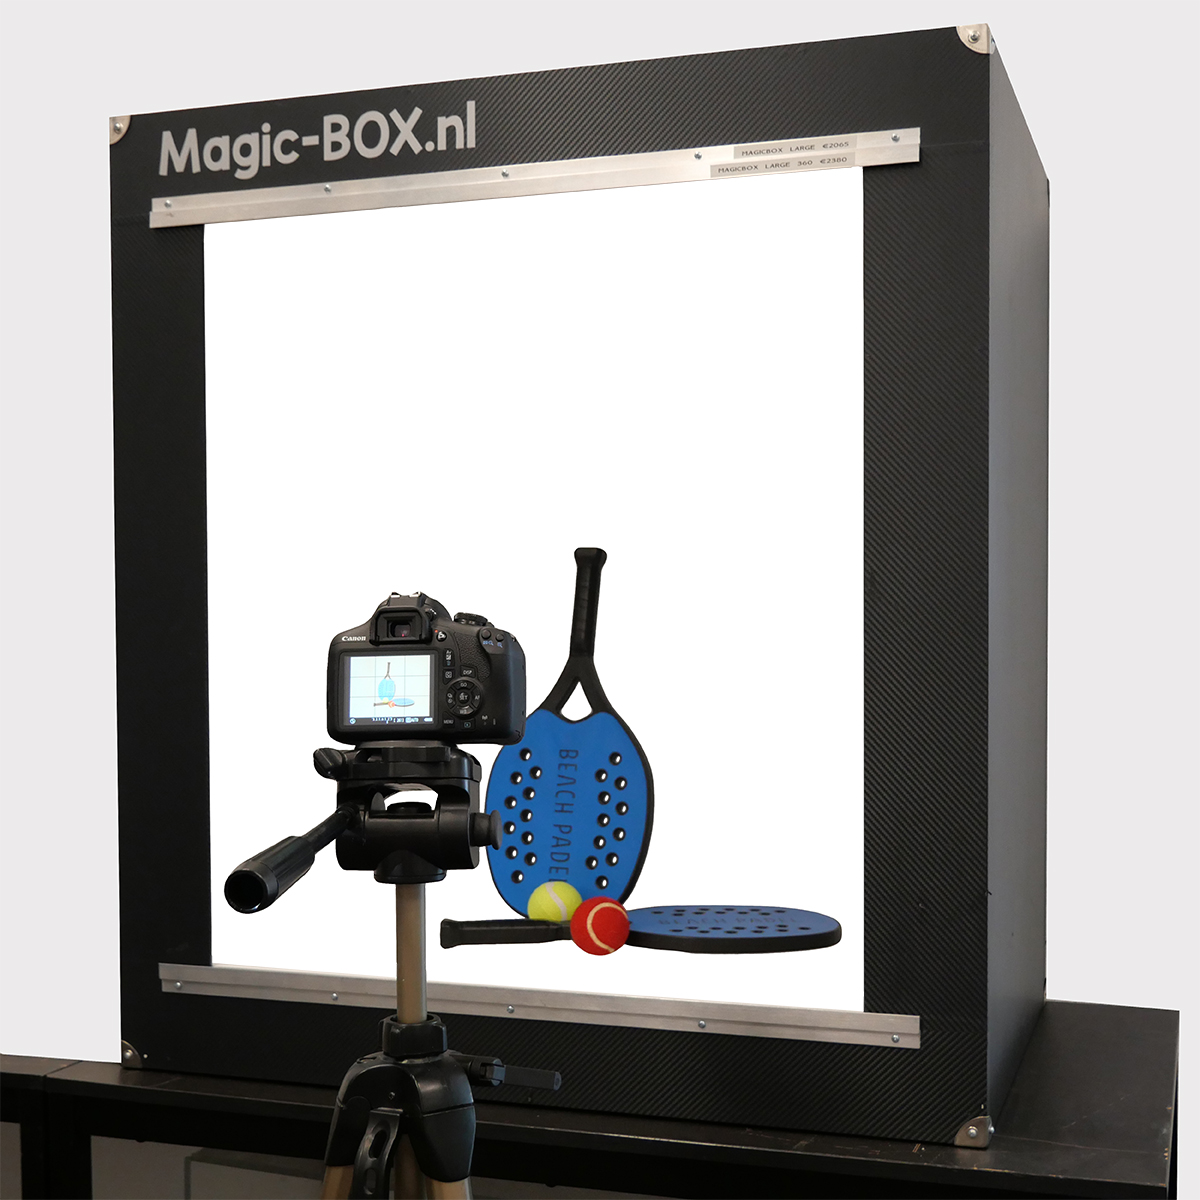
Use a tripod.
This will give you a steady image. Always put the tripod in the same position so that the photo/video is always taken from the same vantage point…this gives peace and unity to your website.

Some tripods also have an attachment for a mobile phone.

General settings camera for product photography:

In many cases your camera is set to automatic, then you cannot set the tips below either. For the most ideal settings in combination with the MagicBOX, we recommend shooting in M or P mode. When your knowledge of photography is limited, the P mode is the best option. The ISO, shutter speed and aperture are then set by the camera, but you have the freedom to adjust the following settings.


product photography magicbox product photo
product photography in the magic box
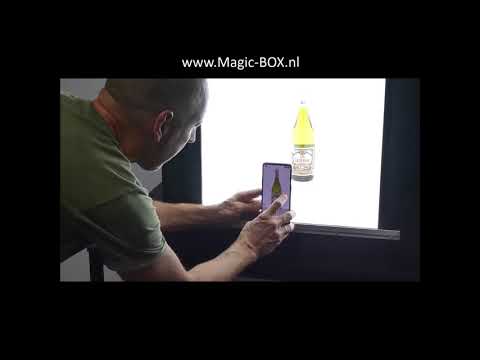
product photography with mobile

Automatic white balance

The AWB (automatic white balance) is normally set to automatic but om because the MagicBOX is equipped with LED lighting, the photo camera can register this light as blue/gray light.

Check your camera’s menu to see if you can manually change the AWB to, say, shadow or daylight.
The blue/gray background light is then converted to white light.

Check which type of light suits you best.

Exposure
Often your product is underexposed/too dark, because the MagicBOX has an illuminated background and back.

You can easily solve this with the following adjustment/setting.
On the back of your camera you will see a square symbol +/-
By default this is set to 0.
+ : background and object will be overexposed, everything will be brighter, this will make the background whiter/brighter.
– : background and object will be underexposed, everything will be darker, this will work if you use a black/dark background.

Light measurement

Try to use the various light meters in the camera to their best advantage:
multi-field metering, center-focused metering and spot metering.

Macro photography
When photographing close up, it may be advisable to activate the macro mode (tulip symbol) to get very close to your subject.

The advantage is that the device can then focus.

Product photography with a cell phone

Cell phones today already have such good cameras that you don’t really need a complicated camera for product photography. The advantage of this is that there are also many apps with which you can edit, crop and upload the photo with, for example, information from your company, article number or logo.

We ourselves have had good experiences with the app Pixlr. Since the MagicBOX gives a lot of light and your mobile phone is set to “normal” use, you can take the perfect photo with your mobile phone with some small adjustments. With a number of phones, this can be done very easily.

Tap the screen on the product to focus and a sun appears, with this you can swipe up and down to make the background whiter. If your phone does not have this function automatically, you can change the exposure (EV value) in the camera menu.

Some phones especially the Iphone have a feature that overrides the manual settings above.

In the settings of the camera you have to turn off the HDR function and when taking the picture you (sometimes) also have to turn off the HDR manually (HDR is on at the top of the screen despite the fact that you turned it off in the settings).

When you put your Iphone in live mode the Iphone takes multiple photos. When you look back at your photo, you will not always see what you manually changed when taking the picture. To do this, go to edit photo and then to the live symbol .
There is a series of different photos there. You choose the best photo for you from these and here you save it as the main photo.

Photo storage/operation is different for each Iphone.

One advantage of shooting with a cell phone is that almost anyone can work with it and you don’t need any specific knowledge of photography.

More technical specifications regarding the cameras of the various cell phones can be found on the Internet.

We hope everything is clear and if you would like more information we would love to hear from you.

Take your product photography to the next level!

To supplement the above tips, you will find on our page instructional videos and our youtube channel some instructional videos.